In this post, we shall discuss how to use Steps Recorder in Windows 11?
But if you are someone new to Steps Recorder in Windows OS, let’s learn a bit about Steps Recorder in Windows 11.
What is Steps Recorder in Windows 11?
Steps Recorder is a built-in program in Windows 11, which as the name suggests is a tool for recording steps and actions performed on your computer. Steps Recorder automatically capture steps you take on a PC, including screenshot and text description of what you did during each step. After the steps are recorded, it automatically produces a document which you can save to a file.
So this is a useful tool for recording steps to reproduce a problem or to create guides / tutorials showing the steps to do something on the computer.
Steps Recorder was also available on previous Windows OS such as Windows 7. It used to be called “Problems Steps Recorder (PSR)” in Windows 7. But in Windows 11, it has been renamed to just “Steps Recorder”.
Steps Recorder is a combination keylogger, screen capture, and annotation tool for Windows.
How to start Steps Recorder in Windows 11?
Table of Contents
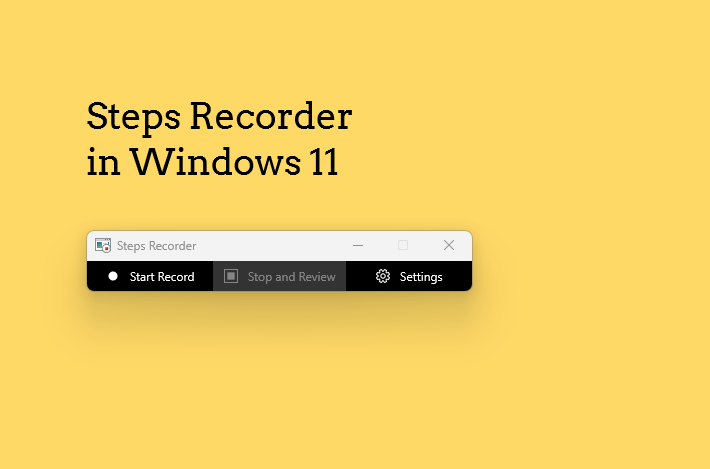
To start Steps Recorder in Windows 11, do the following.
- Press the Windows Key and type “Steps Recorder” to search
- Click on the Steps Recorder app
- Click on the ‘Start Record‘ and the tool will start capturing every step you take on the PC.
- you can now start performing your actions on the computer such as show the steps to reproduce the problem or to show the steps for your guide.
- You can pause and resume the recording at any time.
- To pause the recording, click on Pause Record.
To stop the recording, click on ‘Stop and Review’
- Once your click on ‘Stop and Review‘, the recorded steps are presented in a new window.
- Review the record of the steps to make sure it shows what you want it to show.
- You can add comments to each step.

How to save the recorded steps from Steps Recorder in Windows 11?
To save the recorded steps, click on Save.
- When you click Save, you will be saved to give a filename for the .zip file.
- Then choose where to save it, and then select Save.
- Now you can attach and send this .zip file to the person helping you troubleshoot the problem on your PC. It can be viewed in any web browser.
If you unzip the file created by Steps Recorder in Windows 11, you will find a .mht file. You can open the file in any web browser and the screenshots are also visible. The .mht file is a MHTML web archive file that can hold HTML files, images, animation, audio, and other media content.
Uses of Steps Recorder in Windows 11
As stated above, the Steps Recorder tool records every thing that you do on your computer. It logs mouse clicks, windows opened, etc. along with screenshots of the screen.
Therefore, we can think of some practical uses for Steps Recorder in Windows 11:
- You can use Steps Recorder in Windows 11 to reproduce a problem. The steps recorded can be used to explain someone the problem you are facing. The will be able to replicate the problem by referring to the steps you recorded. You can add your own comments if required.
- You can also use Steps Recorder to create instructional materials such as step by step guides or tutorials for performing some actions on the computer.
- Steps Recorder tool in Windows 11 takes screenshots. So if you are a tech blogger, you can also use the screenshots in your blog post.
These are some practical uses of Steps Recorder in Windows 11.
# Steps Recorded Tool Windows 11
# Reproduce steps in Windows 11
# Screenshots Windows 11


Leave a Comment (FB)