If you have something interesting open on your computer and you need to take screenshot, then there are more than one ways to take screenshot on Windows computer. Windows provides several ways to take screenshots of your entire computer screen, or just a part of the screen. In this post, we shall see different ways to take screenshot on Windows Computer and screenshot shortcuts.
Table of Contents
A) Screenshot on Windows with the Print Screen key
The simplest way to take screenshot on Windows computer is by pressing the Print Screen key on the keyboard. Print Screen key is available on most standard keyboards. The print screen key is usually labeled “PrtScn” (or something similar) and is located in the top row, near the Function keys. The PrtScn key allows the user to save a screenshot of the entire screen. There are some screenshot shortcuts available in Windows computer which you can use for capturing screenshots on Windows computer.
The screenshot captured is saved to the computer memory (a.k.a. Clipboard) initially, which you need to transfer (paste) to some application to see it and further edit if required.
Here are different ways to take screenshot on Windows computer with the Print Screen key :
1) Press PrtScn
- Captures screenshot of the entire screen and saves to the clipboard
- Paste the screenshot into any program that displays images, like Paint or Microsoft Word or any other image editing software.
- You need to save the screenshot as image file to access the screenshot later.
2) Press Alt + PrtScn
- Alt + PrtScn takes screenshot of the active window only, and saves to the clipboard.
- Active Window means the window which is currently in focus or in use.
For example: You have Windows Explorer open which is covering the whole screen. And on top of that, you have Google Chrome window open (full screen or smaller), but which you are currently using or is in focus. Pressing Alt + PrtScn will save screenshot only of the Google Chrome window and not of the entire screen. - You can paste into another program such as like Paint or Microsoft Word or any other image editing software.
3) Press the Windows key + Shift + S
- Windows key + Shift + S takes screenshot of a portion of the screen by dragging on it. This is from Snipping Tool (see below).
- By pressing Windows key + Shift + S, the screen will dim and you can drag and select an area with the mouse pointer.
- The screenshot will be copied to the clipboard, which you can paste into another program.
Note: This shortcut requires the latest version of Windows 10 or later installed that is, Windows 10 Creators Update.
4) Press the Windows key + PrtScn
- Windows key + PrtScn will save the entire screen directly as an image file.
- If you want to save screenshots as image directly, then use Windows Key + PrtScr.
- The screenshot will be saved to “Screenshots” folder under the “Pictures” folder. (C:\Users\*ProfileName*\Pictures\Screenshots)
B) Screenshot on Windows with Snipping Tool
Snipping Tool is a Microsoft Windows screenshot utility included in Windows Vista and later. It can take screenshots of an open window, rectangular areas, a free-form area, or the entire screen. You can use Snipping Tool to grab a screenshot and save it as an image file without first pasting the screenshot into another program.
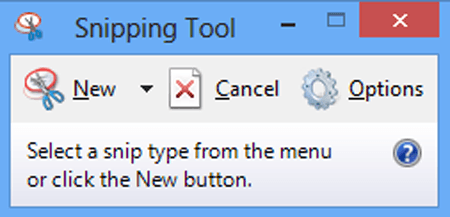
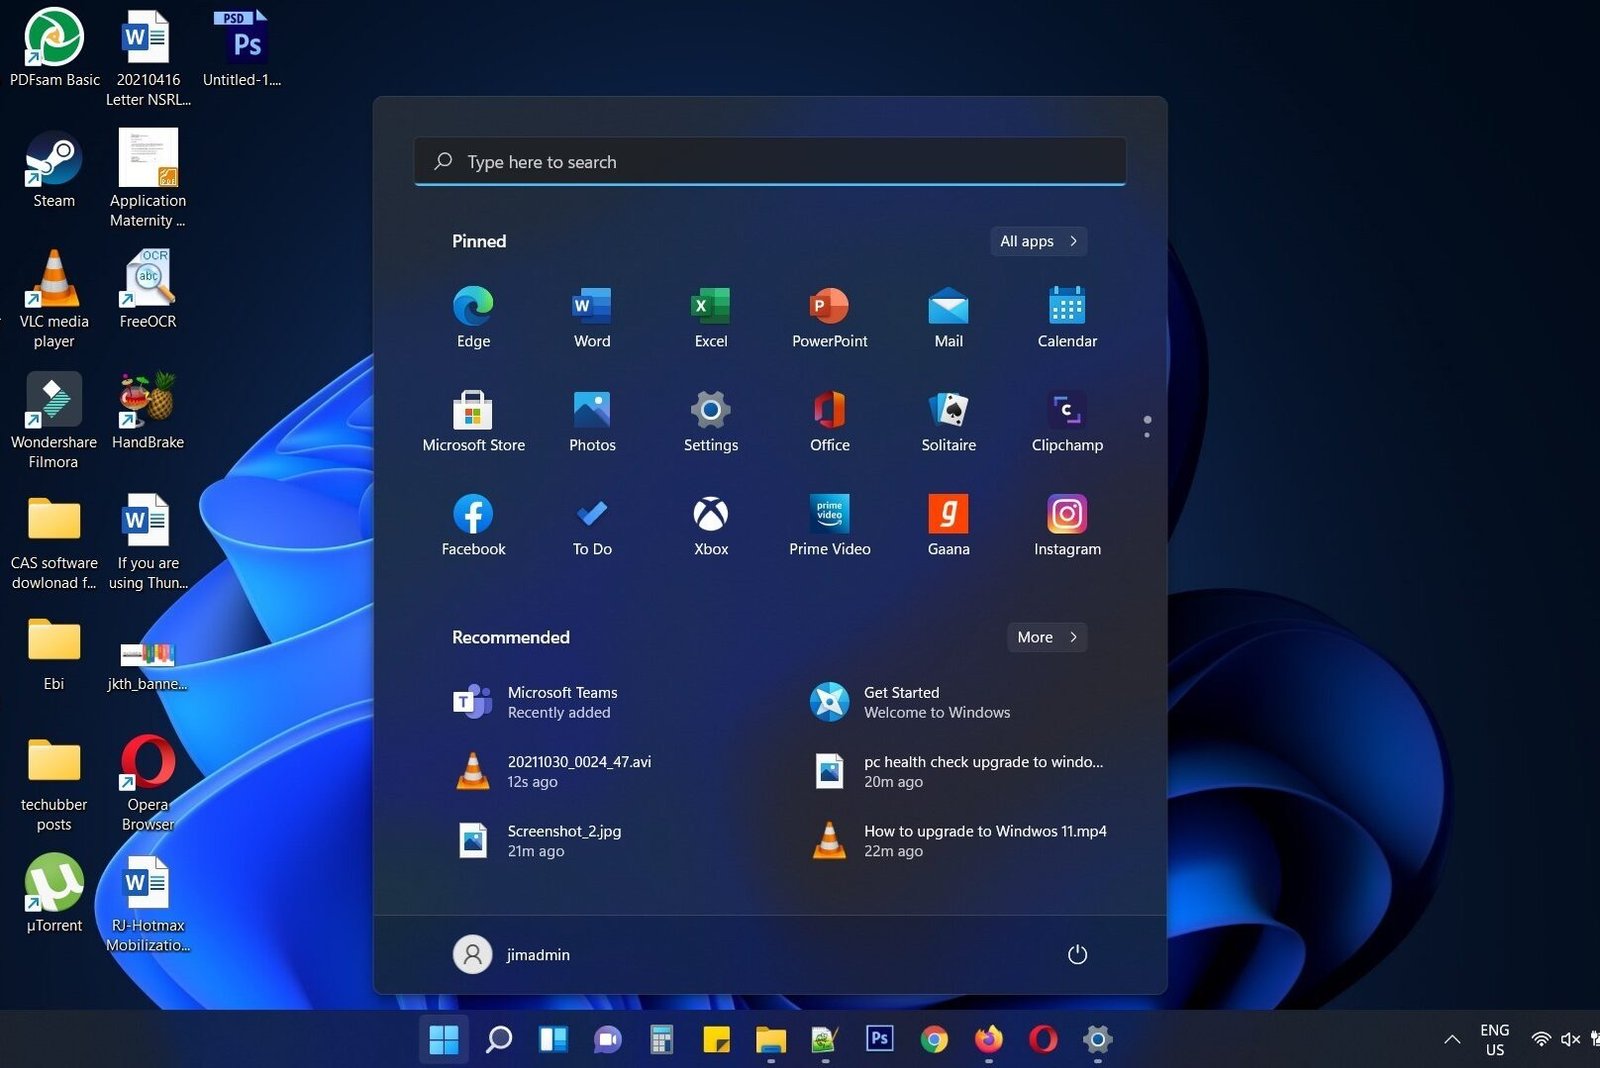
1. Press Windows Key and Type “Snipping Tool”.
You should be able to see a program by the name “Snipping Tool “. Click to open.
On newer Windows versions, it is “Snip and Sketch”, which is apparently a more advanced version of the Snipping Tool with a wider array of options and easier access. Want to know what is the difference between ‘Snipping Tool’ and ‘Snip and Sketch’? Read here.
2. Select “Mode” from the mode selection drop down
Choose full screen or rectangular or a free-form screenshot.
- Free-form snip: Draw a free-form shape around an object.
- Rectangular snip: Drag the cursor around an object to form a rectangle.
- Window snip: Select a window, such as a browser window or dialog box, that you want to capture.
- Full-screen snip: Capture the entire screen.
3. Click ‘New’ to take a screenshot
Drag with your mouse and take the screenshot. The screenshot will then appear in the Snipping Tool window.
4. To annotate: Use the drawing tools to annotate the screenshot.
6. To save the screenshot as image to computer, click “File” and then click “Save As”.
7. To copy the screenshot to a program such as MS Paint, Microsoft Word, Photoshop etc., click the copy button in the Snipping Tool window to copy the image to clipboard.
C) Take screenshot on Windows using free software – LightShot
Besides the Print Screen Key and the Snipping Tool, you may also use other software to take screenshots on Windows and especially if you need additional features. Otherwise, for simple screenshots, the tools provided in Windows should suffice.
If you still think you need third party software, check out some good free screenshot software for Windows.
Lightshot is a free, light and easy to setup screenshot software for Windows and Mac. It has a simple interface and sufficient annotation features. It is a free software with which you can take screenshots, annotate them, and use it in instructional blog posts and videos if you like.
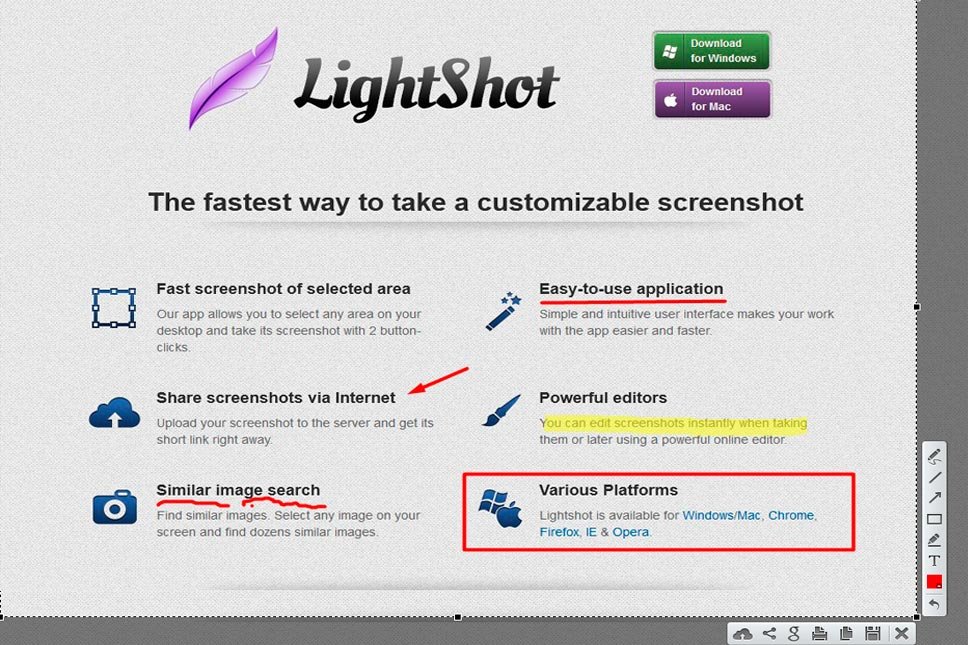
- Hotkeys: After installing, setup a hotkey which you can use to easily open LightSchot to take screenshots
- Share screenshots via Internet: Upload your screenshot to the server and get its short link right away.
- Similar image search: Take screenshot of any image on your screen and find dozens similar images on Google.
- Lightshot is available for Windows/Mac, Chrome, Firefox, IE & Opera.
Read here – How to install and use LightShot Screenshot capture software on Windows
# Best software for screenshot on windows pc
# How to take screenshot on Windows 10 with the Print Screen key
# Windows 10 Snipping Tool
# Snip and Sketch Tool Windows 10
Leave a Comment (FB)
2 thoughts on “Different ways to take screenshot on Windows Computer”