Windows 10/11 Start Menu Search is slow? Try these fixes.
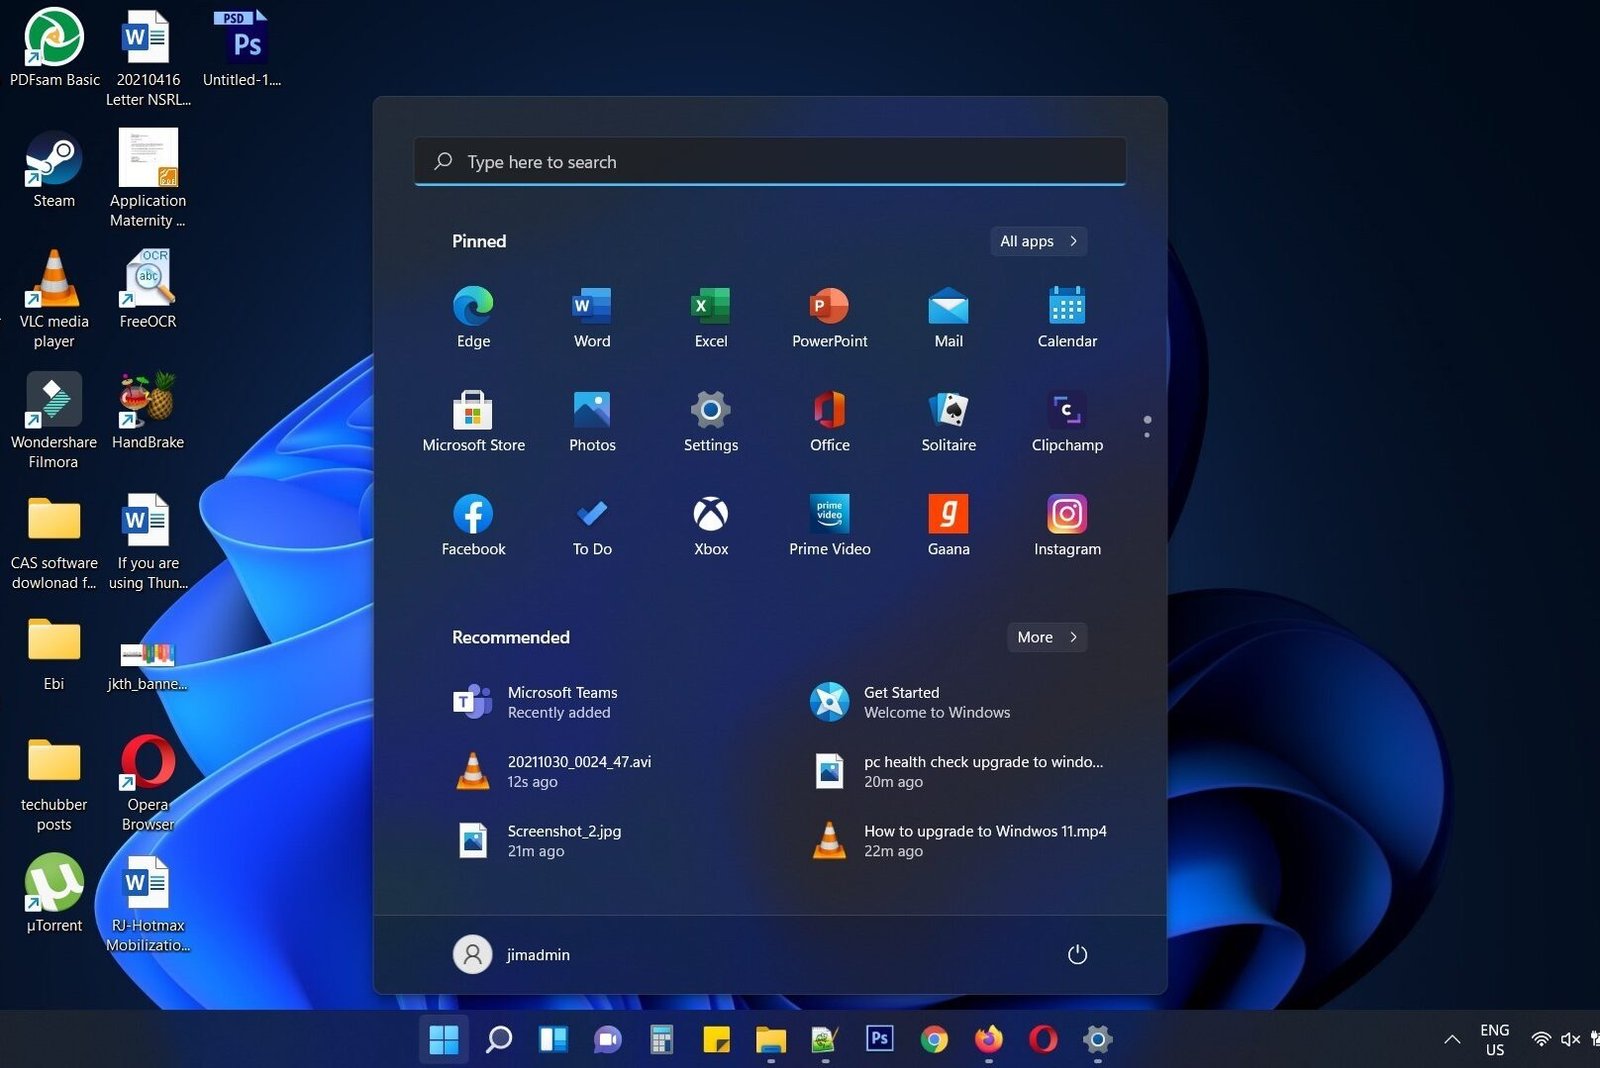
When you press the Start button and type program name to search on your Windows 10/11 computer, do you feel slowness? Do you see that it is attempting to search something but the programs installed are also not appearing fast? In this case, it seems your Windows 10/11 Start Menu Search is slow. Try these fixes.
- Restart Windows Explorer process
- Stop and Start Windows Search Service
- Run Search and Indexing Troubleshooter
- Disable Web Search using Registry
- Modify Indexing Options
- Rebuild Windows Search Index
Table of Contents
Restart Windows Explorer process
Sometimes restarting the Windows Explorer process may slow some problems. If you are experiencing some slowness in search, then you may try restarting the Windows Explorer process.
- Right-click on the taskbar and click to open Task Manager.
- Look for Windows Explorer.
- Right-click on it and select Restart.
Wait for some time for Windows Explorer to close and restart.

Then, press the Start button and type some program name to search on your Windows 10/11 computer and see if the search is faster this time. If not, try other fixes below.
Stop and Start Windows Search Service
If you are still experiencing slow Start Menu Search, you may try to restart the Windows Search Service using the Services App.
To restart Windows Search Service follow the steps below.
- Press Windows Key +R and type in services.msc to open Services app.
- Look for Windows Search.
- Right-click on the Windows Search service and select Restart.
- Close Services app.

Then, press the Start button and type some program name to search on your Windows 10/11 computer and see if the search is faster this time. If not, try other fixes below.
Run Search and Indexing Troubleshooter
If you are experiencing slow Start Menu Search, you may also try to troubleshoot the issue using the Windows troubleshooter.
On Windows 11
- Open Settings from the Start Menu.
- Click System > Troubleshoot > Other troubleshooters.
- Look for the Search and Indexing troubleshooter, and click on the Run button.
- Select ‘Search or Indexing is slow’ and click NEXT
- You may need to describe the problem. Enter Search or Indexing is slow etc. and click next
- The troubleshooter may identify some issue and fix it for you. If not, it will display that it could not identify the problem. In that case, close the troubleshooter.
Windows 10
- Open Settings.
- Go to Update & Security > Additional troubleshooter.
- Click Search and Indexing > Run the troubleshooter.
Disable Web Search in Start Menu from Registry
Windows Search tool allows you to search the web directly from the Start Menu and displays results from the web. While this may be helpful, it may also slow down your computer when it is attempting to find results from the internet. This may be frustrating when you just want to find a program to start not results from the internet. You may attempt to disable web search in Start Menu to see if this improves the search from Start Menu. This is done by editing the registry, so backup your registry before making any changes so that you can restore if something goes wrong.
How to backup your Windows Registry
- Press the Windows key + R to launch the Run dialog box.
- Type regedit in the box and press Enter to start the registry editor.
- Click on File > Export and provide a file name to export the registry.
- If any thing goes wrong, you can Click on File > Import and use it to restore later.
How to disable web search in Start Menu from registry
- Press the Windows key + R to launch the Run dialog box.
- Type regedit in the box and press Enter to start the registry editor.
- Copy and paste the following path into the address bar to navigate to the Windows key: Computer\HKEY_CURRENT_USER\Software\Policies\Microsoft\Windows
- Right-click on the Windows registry key, click on New and select Key and provide a Name such as Explorer.
- Right-click on Explorer (which you just created), select New and choose DWORD (32-bit) Value.
- Name it DisableSearchBoxSuggestions.
- Double-click on the newly created DWORD, change the value data to 1 and click OK.
- Restart your PC to effect the changes, and check to see if the search is faster.

Modify Indexing Options
Windows Index contents on your PC and allows Windows to locate your files faster. However, if there are some folders or drives where you do not need to search, such can be disabled in case it is already selected for indexing. You can exclude them from the indexing list to speed things up.
- Click Start > Type ‘Indexing Options’
- Click MODIFY
- In the Indexing Locations window, uncheck the folders or drives you want to exclude and hit OK.

Rebuild Windows Search Index
If the search on Windows is still slow, there might be an issue with the Windows search index on your PC. In that case, you can try rebuilding the index. This process may take sometime to complete depending on the number of files to be indexed.
To rebuild Windows Search Index, do the following:
- Click Start > Type ‘Indexing Options’
- Click ADVANCED
- Click REBUILD

If it appear that your Windows 10/11 Start Menu Search is slow, then try these fixes above. Let me know in the comments which one worked for your.
Don’t have Windows 11 OS?
You can buy it on Amazon on great discounts. Check out the link below.
Microsoft Windows 11 Pro 64-Bit | FPP | USB 3.0 | Single License
# windows search slow windows 11
# windows 11 start menu search slow
# windows 11 start menu disable web search
# windows 11 file explorer search slow


Leave a Comment (FB)