Are you a Windows PC user looking to try out Linux? Look no further than Ubuntu – one of the most popular and user-friendly Linux distributions. If you’re new to Linux, starting with Ubuntu is an excellent choice. In this post, we’ll walk you through how to install Ubuntu from a USB drive in Windows PC.
In the past, many users faced challenges when installing Linux due to software and driver compatibility issues for everyday tasks. However, with popular distributions like Ubuntu, those days are behind us. Ubuntu comes pre-installed with essential programs such as word processors, video players, and music players, making it a great starting point for beginners.
For additional applications or drivers not included in the base installation, you can explore the Ubuntu Software Center to install them according to your needs. With its ease of use and comprehensive software offerings, Ubuntu is an excellent choice for those looking to dip their toes into the world of Linux.
Before you try Ubuntu, you may have some queries:
- How to try Ubuntu without installing ?
- How to create bootable Ubuntu USB drive ?
- How to install Ubuntu from USB drive ?
- How to install Ubuntu along with Windows ? (Dual Boot Ubuntu in Windows PC )
- How to replace Windows with Ubuntu? (install Ubuntu and replace Windows PC )
This post would answer all these queries you may have and help you to try Ubuntu confidently.
Table of Contents
Various ways to run Ubuntu Linux:
Here are some of the ways to run Ubuntu Linux if you are using Windows OS right now.
- 1) Try Ubuntu Linux from USB drive without installing.
- 2) Install along side Windows (dual boot Ubuntu in Windows)
- 3) Run Ubuntu from Virtual Machine such as Virtual Box
- 4) Install Ubuntu and replace Windows with Ubuntu
If you want to try Ubuntu Linux from USB drive without installing, all you have to do is create a bootable Ubuntu USB Drive and boot from it.

If you want to run Ubuntu from Virtual Machine such as Virtual Box, see previous article here: How To Install Ubuntu On Windows Using Oracle Virtual Box?

If you want to dual boot Ubuntu in Windows PC, then you need to create a separate disk partition during the installation process, and install Ubuntu on it. This will change the Boot Record, and next time when you boot, you will be asked to choose either Windows or Ubuntu to boot into.
In this post, we shall see how to install Ubuntu from USB to replace existing Windows OS. We made a brief video on this topic below.
What you’ll need (Pre-requisites)
- A laptop or PC with at least 25 GB of storage space.
- A USB drive (8GB as a minimum, 12GB or above recommended).
Demo video – How to install Ubuntu from USB drive replacing Windows
1) Putting Ubuntu on a USB stick (create bootable Ubuntu USB drive)
2) Booting Ubuntu from USB Stick
3) Try Ubuntu
4) Install Ubuntu replacing Windows OS
If you want to install Ubuntu Linux on Windows computer by replacing the existing Windows OS, you may refer to the following steps.
1) Download an Ubuntu Image
- You can download an Ubuntu image here.
- After you have the image downloaded to your computer, the next step is to create a bootable Ubuntu USB drive.
2) Create a bootable Ubuntu USB drive
To install Ubuntu, first create a bootable Ubuntu USB drive with the installation media you downloaded above. Creating a bootable USB drive is not the same as copying the ISO, and it requires some special software. You can use Rufus or balenaEtcher. Whichever software you choose to create a bootable USB drive, the basic steps involved are:
- Insert the USB Drive to the computer
- Launch the software (Rufus or balenaEtcher)
- Select the downloaded Ubuntu ISO,
- Choose your USB drive,
- and write the downloaded Ubuntu ISO image to the USB drive.
Refer to the specific software’s manual or help if you need assistance.

After you have the bootable Ubuntu USB drive created, the next step is to boot Ubuntu from the USB drive.
3) Boot Ubuntu from USB drive
Insert the bootable Ubuntu USB drive you created above in any USB port on your computer. Boot or restart the computer. It should recognise the bootable Ubuntu USB drive automatically. If not, try holding F12 during startup, and select the USB device from the system-specific boot menu. [The key for boot selection may be different on different computer. F12 is the most common key for the system boot menu but Escape, F2 and F10 are common alternatives. If unsure, look for a brief message when your system starts – this often informs you which key to press to access the boot menu.]
3.1) On successful boot from the USB drive, you should now see the welcome screen asking you to either try or install Ubuntu.
- If you just want to try Ubuntu, click Try Ubuntu.
You can preview Ubuntu without making any changes to your PC. You can return to the installer menu at any time by clicking the Install Ubuntu shortcut on the desktop. - If you want to install Ubuntu right away, click Install Ubuntu.
Let’s see how to install Ubuntu from here.

3.2) Select your keyboard layout, click Continue.
3.3) Next, choose the installation options– NORMAL or MINIMAL or OTHER installation.
- Normal installation will install utility software also, such as web browsers, office programs, media players, games etc.
- Minimal installation does not come with many pre-installed applications. Useful for users with smaller hard disk size.
- In Other options, you will be prompted to download updates as well as third-party software that may improve device support and performance (for example, Nvidia graphics drivers) during the installation.
It is recommended to have access to the internet so that required drivers are installed during the installation process itself.
3.4) Next, select the installation type (important step)
This is a critical step – so pay close attention and read instructions carefully. Otherwise, any careless mistake may lead to data loss.
You get two options here:
Option #1 : Erase and Install Ubuntu
Option #2 : Something else.
Option #1 : Erase and Install Ubuntu : will erase the disk and install Ubuntu. If you want to install Ubuntu and replace Windows , you should select this.
Option #2 : Something else : You should choose this option if you wish to install Ubuntu and also keep your Windows OS (dual boot Ubuntu in Windows).

In this port, we want to install Ubuntu to replace Windows OS, so we are selecting Option #1 – Erase and Install Ubuntu.
3.5 At “Erase disk and install Ubuntu“, select Advanced features… if you want to encrypt your installation.
- Select Use LVM with the new Ubuntu installation > Encrypt the new Ubuntu installation for security. If you select encryption, note the security key and store it in a safe place outside of your local system. You will not be able to recover your data without it!
LVM stands for Logical Volume Management. By using LVM during the setup, it makes it easier to create and manage partitions post installation.
- You will be prompted to create a security key once you click Install Now.
Click Install Now and confirm the changes with Continue.
3.6) Choose your Location
Select your location and timezone from the map screen and click Continue.
3.7) Create Your Login Details
Create Computer Name, Username and password for the Ubuntu OS.

3.8) Complete the Installation
Once the installation is completed, you will be prompted to restart your machine.
- Click Restart Now.
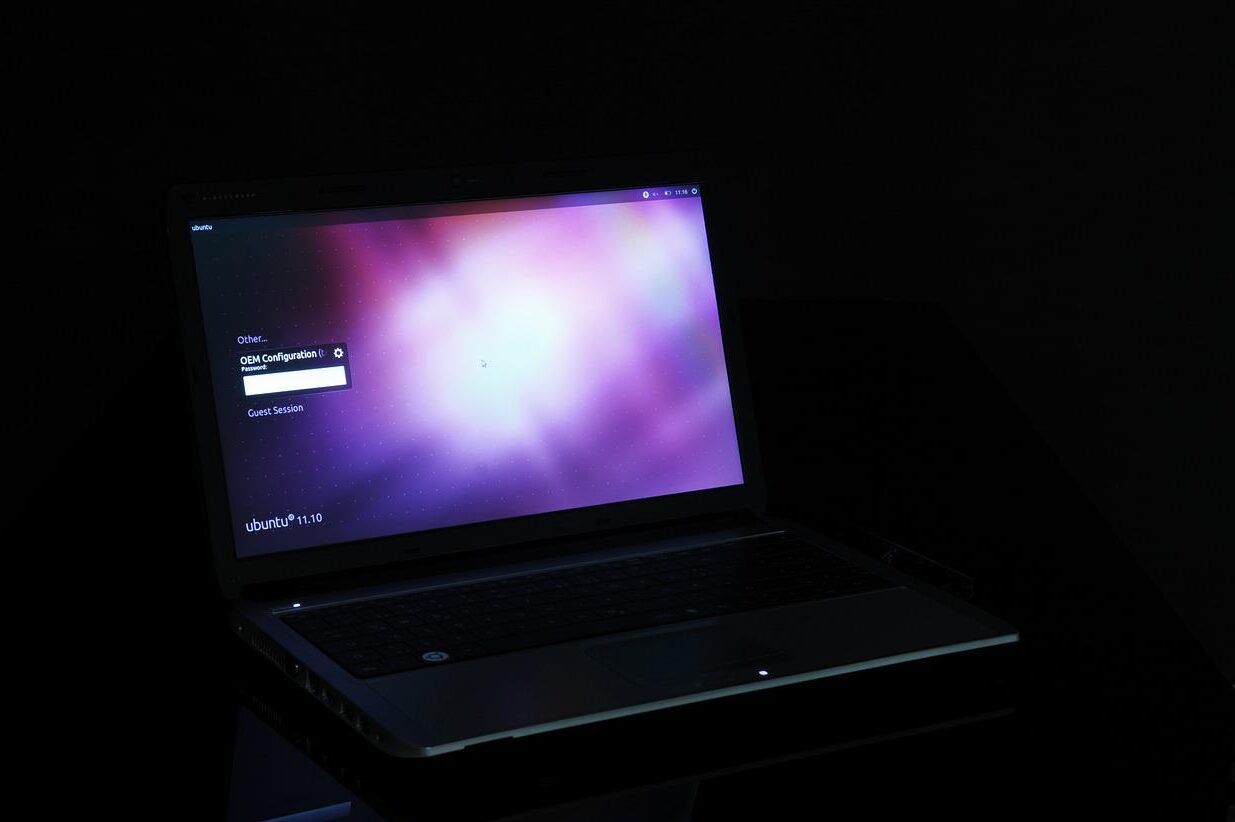
- At the Ubuntu Login Screen, enter the password you set earlier to login.
You have successfully installed Ubuntu on your computer and replaced Windows OS!
Update Ubuntu
There may be new updates after the Ubuntu image was released, which you just installed. It is good to update software as some issues may have been resolved in the new updates.
To update Ubuntu, search for Software Updater app via the app menu and it will check for updates and apply them.
You can also update Ubuntu using the terminal.
- Press CTRL+ALT+T to bring up a Terminal window (or click the terminal icon in the sidebar).
- Type the command:
sudo apt update
The above command will check for updates and tell you if there are anything that need applying. - To apply any updates, type:
sudo apt upgrade - Type Y, then press ENTER to confirm to finish the update process.
So, by following the above instructions you can easily download Ubuntu, create the bootable Ubuntu USB disk, and try Ubuntu or install Ubuntu on your computer.
In this post, we discussed how to download Ubuntu, create bootable Ubuntu USB drive, install Ubuntu from USB drive replacing Windows OS, and update Ubuntu.
Let us know in the comments if you have tried using Ubuntu, and whether you like it.
References / Additional Reading:
- Using Rufus to create bootable Ubuntu USB Drive: https://ubuntu.com/tutorials/create-a-usb-stick-on-windows#1-overview
- Ubuntu installation types: https://ubuntu.com/tutorials/install-ubuntu-desktop#6-type-of-installation
# How create bootable Ubuntu USB # How to replace Windows with Ubuntu Linux
# How to dual boot Ubuntu in Windows PC ?
# How to install Ubuntu Linux
# How to install Ubuntu from bootable USB drive
# Dual Boot Ubuntu on Windows
#Run Ubuntu on Virtual Machine # Choose Ubuntu Installation Type
# How to install Ubuntu from USB stick replacing windows 10
# How to install Ubuntu from USB step by step
# Create bootable USB Ubuntu from Windows
# How to install Ubuntu on Windows 10
# How to install Ubuntu on Windows 11
Leave a Comment (FB)