A Contact Form allows visitors to easily get in touch with you through your website. Unlike comments left on blog posts, messages sent through a contact form go directly to your designated email address. Having a contact form enhances user interaction and makes it simple for visitors to send feedback, inquiries, or requests.
If you’re looking to add a contact form to your WordPress website, we will see how to add free contact form on WordPress Website.
Table of Contents
Plugins we’ll use to add free contact form on WordPress Website
To create the contact form, we will be using two WordPress plugins– WP Mail SMTP plugin and Contact Form 7 plugin . These plugins have paid features, but the free version will work just fine.
Let’s understand a little bit about the plugins and what they do.
WP Mail SMTP plugin
WP Mail SMTP is a WordPress plugin that helps ensure your website’s emails are delivered successfully. By default, WordPress uses the PHP mail function, which often causes emails (like contact form submissions or notifications) to end up in spam folders or not send at all. WP Mail SMTP fixes this by reconfiguring WordPress to send emails using a proper SMTP (Simple Mail Transfer Protocol) service. It supports popular mailers like Gmail, Outlook, SendGrid, and others for more reliable and secure email delivery.
Contact Form 7 Plugin
Contact Form 7 is one of the most popular WordPress plugins for creating and managing contact forms. It allows you to easily add customizable forms to your website using simple shortcodes—no coding required. It’s lightweight, free, and integrates well with other tools like WP Mail SMTP and Google reCAPTCHA for better functionality and spam protection.
So, Contact Form 7 handles the creation and display of forms, allowing visitors to send messages or inquiries through your site. WP Mail SMTP, on the other hand, ensures those messages are actually delivered to your email inbox by using a proper SMTP service instead of the unreliable default WordPress mail function. This combination not only improves email deliverability but also helps prevent issues like lost messages or emails landing in spam folders.
Step-by-Step Guide: How to add free Contact Form 7 to WordPress website
Before we proceed, it is assumed that you have a fully functional WordPress website, that which is hosted and has a domain name. While you may also use emails such as Gmail or Outlook, we will be using an email associated with the website domain name- eg. contact@yourdomain.com.
Step 1 : Create email address
First, you will need an email address — of course! That’s where the messages from the contact form will come as email messages. If you already have a website that is hosted with a web hosting service provider, then you can easily create an email address with them as well.
As an example, the following steps are from Hostinger, but the steps will be similar for any other web hosting service.
Steps to create email address in Hostinger:
- Log in to your web hosting account (Hostinger in this case) > click on Emails > Mailboxes
Or Click on websites list > click dashboard near the website > and then click on email - Click on create a mailbox
- Enter your desired email name (e.g., info@yourdomain.com) and password.
- Click “Create.”

After creating the email address, click on Webmail and test whether you are able to access the email using the password that you have set. If you are able to access the email fusing the Webmail then you are good to go.
Next, click on the ‘Connect apps & devices > Server Settings‘ to check the email settings such as IMAP or SMTP settings, which is required to set up email clients such as Thunderbird or Outlook, or for configuration of the plugins we are going to use in this tutorial. You should note down the following, as it will be required to setup the plugins later.
- email address and password
- Incoming server (IMAP) address: imap.hostinger.com, Port No: 993 | Encryption: SSL
- Outgoing server (SMTP) address: smtp.hostinger.com, Port No: 465| Encryption: SSL
The above details will vary with service provider. We’ll come back to this later.
Step 2: Install the two WordPress plugins- WP Mail SMTP plugin and Contact Form 7 plugin
The next thing that we need to do is to search for these plugins and install them.
Steps to install WordPress plugins:
- Log in to your WordPress admin dashboard.
- In the left sidebar, go to Plugins → Add New.
- Use the search bar on the top right to find the plugin you want (e.g., Contact Form 7 or WP Mail SMTP).
- Click Install Now next to the plugin name.
- Once installed, click Activate to enable the plugin on your site.
Your plugins are now ready to use.
Step 3: Configure WP Mail SMTP plugin
Next, we will configure the WP Mail SMTP plugin with the email address that we have created in the web hosting email service.
- Log in to your WordPress admin dashboard.
- Click on the WP Mail SMTP > Settings menu from the left sidebar
- Under the General tab, scroll down to Primary Connection, and click on the Setup Wizard, or you can fill up the following details:
- From Email = info@yourdomain.com
(This is the email address you created in Step 1 above, and this is the email address using which emails will be sent from your WordPress website.) - From Name = Enter a name, if required. The name associated with the above email address.
- Force From Name: ON
(If checked, the From Name setting above will be used for all emails, ignoring values set by other plugins. Recipient will see ‘FromName<info@yourdomain.com>’ in the From field. - Return Path=ON
- Mailer = Other SMTP
(Since we are going to use our website’s SMTP / email service. Otherwise, in other scenarios, you can select the service you are using, such as Google SMTP / Outlook etc.) - SMTP Host = smtp.hostinger.com
Encryption = SSL
SMTP Port = 465
Auto TLS = ON
Authentication = ON
SMTP Username = info@yourdomain.com
SMTP Password = enter the email password
(You will get this from the email server settings from Step 1) - Click on Save Settings


- Now, Click on the WP Mail SMTP > Tools menu from the left sidebar,
- Under the Email Test menu, enter an email address and click Send Email.

- If everything went well, then you should see a success message that the email has been sent successfully. You should now check your inbox or your spam folders (just in case) for the email message.
After confirming that the test email is sent successfully from the WP Mail SMTP plugin, we can proceed to create the contact form using Contact Form 7 plugin and send the message from the contact form.
Step 4: Create the contact form using the Contact Form 7 plugin
This step involves two tasks – first, configuring the Contact Form 7 plugin, and second, creating the contact form page.
4.1: Configure the Contact Form 7 plugin
Assuming that you have already installed the plugin, we can now proceed to configure the contact form.
- Click on Contact > Contact Forms from the left sidebar
- There will be a default contact form, click on EDIT (Or if you want to keep a copy click on duplicate)
- FORM tab > This section contain elements for the Contact Form like the placeholders and text boxes for users to enter name, email address, message and a submit button. The default is good enough but if necessary, edit the texts to customize. Make sure not to mess up the syntax. The form uses predefined tags.
<label> Your Name (required)
    [text* your-name] </label>

<label> Your Email (required)
    [email* your-email] </label>

<label> Subject
    [text your-subject] </label>

<label> Your Message
    [textarea your-message] </label>

[submit "Send"]
Mail Tab > This is where you can setup the TO, FROM, SUBJECT, MESSAGE BODY of the email.
- TO: Enter an email address where the message from the contact form will be delivered to.
(You can also use the same email which you used to configure WP Mail SMTP in step 3) - FROM: An email address which will be used to deliver the message. This is usually an email associated with your domain. You should use the email address which you used to configure WP Mail SMTP in step 3.

- SUBJECT: You can leave it as “[your-subject]” – this will pick up the subject in the contact form filled by the visitor. You can edit it with prefix or suffix text. Eg. WebsiteName – “[your-subject]” for easier identification when you receive the email.
MESSAGE BODY: You can customize the message body also. Here is an example:
Hello Admin,

Someone left you a message using the contact form on your website.
Here is the message details.
*********
From: [your-name] <[your-email]>
Subject: [your-subject]

Message:
[your-message]
The details filled by the user in the form are picked up using the tags [your-name], [your-email],[your-subject’ and [your-message], and sent as a part of the message configured above.
MESSAGES TAB> Here you can customize the messages that will be displayed in the Contact Form such as when the message is sent successfully, or if there was an error, etc.
- After you are done customizing the Contact Form, click SAVE at the bottom of the page.
- Contact Form 7 ShortCode displayed at the top, which looks something like this:
You may keep this page open as we will copy the shortcode and paste it somewhere later.
4.2: Creating the contact form page
Using the contact form shortcode displayed above after saving the form, you can directly copy and paste the shortcode in any existing page or post to display the contact form. However, for a WordPress website, it is best if you have a dedicated contact form page, whose link you can also display in the main menu of the website. With this in mind we can create a new page for the contact form as below.
- Create a new page from PAGES > Add New
- Set Page Title, name it ‘Contact‘
- Copy the Contact Form 7 ShortCode mentioned above (Eg.
- Paste the ShortCode copied in the body section of the page.

- Click PUBLISH
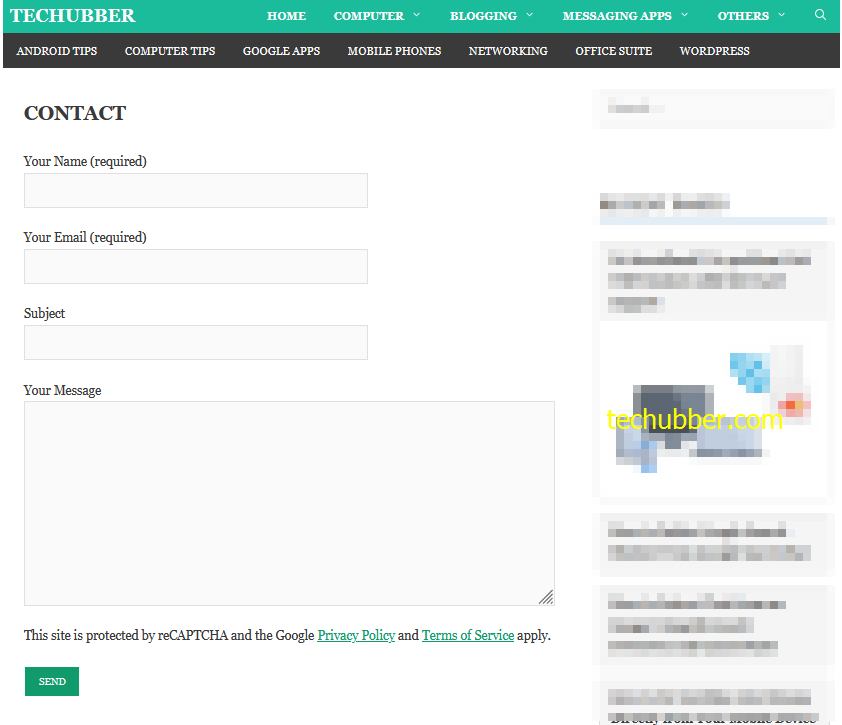
- View the page just published, and you should be able to see the Contact Form like this.
4.3: Test the contact form
After this you can test the contact form. Enter your name, your email, subject, a message and click on SEND.
If everything is configured correctly then you should be able to see a success message as shown below.

The contact form is embedded in the contact page we created using the shortcode. But for your visitors to find the link and send you a message, you should include the contact form link in the main menu or in the footer links etc. For this, you can go to Appearance > Menus, and add the contact form page to the respective menus.
So in this post we have seen how to create an email address on your web hosting, configure WP Mail SMTP plugin to send emails from your website, and how to create a free contact form for WordPress website.
But we haven’t dealt with preventing spam messages. You can check out the next article how to integrate Google reCaptcha with Contact Form 7.
# Free Contact Form for WordPress website # Contact Form 7 WordPress plugin #Add Contact Form 7 in WordPress website #Contact Form WordPress Plugin


Leave a Comment (FB)